Files
ERPHY can store any type of files. For every file ERPHY creates its own document. Files can be found in the Registries section.
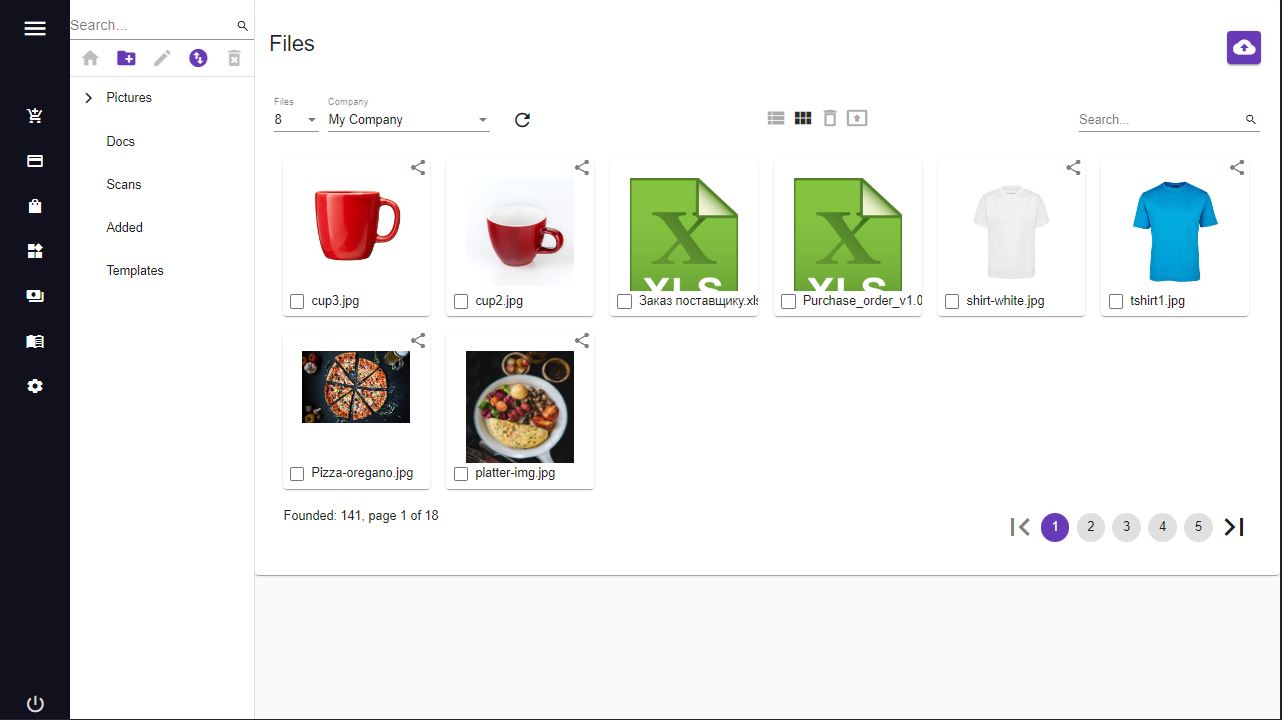
After registration you already have some files by default. As you can see, all pictures have thumbnails:

By default files are displayed as miniatures, but if you click this icon  - they will be displayed as a table.
Adding files
To add a file into ERPHY first of all you need to select the category that the file will be related to. If you don’t do this, it will automatically be the last selected category, or the root category. Then click this button  , and select one or more files. You can upload up to ten files at a time.
Search files
To search the file input a part of its name into the search field, and click Enter.
External access
All files by default are not accessible from the outside of ERPHY system. But sometimes you need to make them externally accessible - for example, product pictures must be accessible for online store.
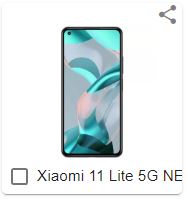
In the thumbnails mode the file with the external access is marked with a Share icon  like this:

In the table mode the files with the external access have  in the Ext. access column.
There are 2 ways of enabling or disabling external access:
1. Open file card and change the field External access, then save changes.
2. If you need to change the external access of a group of files, then you need to select all these files, click the Actions button -> External access -> Allow/Deny external access.
Categories
The user needs categories of files to quickly filter the list of files. You can find the categories bar on the left side of the files list. You can read how to work with categories here .
Each file can be associated with one or more file categories.
To change the categories of one file - just open the file card, select/unselect categories and click Save button.
If you want to change the categories of a group of files then you need to select all these files, then click the Actions button -> Category selection, and in the opened window Category selection select the categories you want by clicking this icon 
Click the Select button at the top of Category selection dialog. Then you will see the dialog asking you - «Would you like to save the categories that the products already have?» If you select Yes - the selected categories will be added to the existing ones, otherwise the already existing categories will be replaced by the selected ones.
Delete files
To delete a file select it and click Delete button  , then choose Yes.
Deleted file will be placed into the bin.
To see the files in the bin click on the trash icon  . As you can see, the deleted file is there; If you click Empty bin button
  , all the files in the bin will be deleted forever. Also, you can delete permanently only the files that you are sure you will never need again - select these files and click this button
  .
.
But what to do if you want to restore the files from the bin? Select the files, and click this yellow button  - files will be restored.
To exit the bin click the trash button again.
File document
If you click on the file icon - the File document will be opened. Here you can either rename this file, or edit its description.
Also, here you're able to change the categories that this file is related to.
If you want to make this file acceptable for non-registered ERPHY users, you should allow the external access of this file by switching the Extenal access selector. Now, if you click copy icon  , the link on this file will be copied into clipboard. Save the File document and now it’ll be accessible via a copied link.